
How to apply paint correctly for DIY
1. Clear the area & protect surfaces:
Get this right, and you're halfway to success!
Move furniture aside.
Cover floors and furniture with old sheets or thick plastic sheeting.
Remove outlet and switch plates with a screwdriver—it saves time and ensures a clean paint job.
2.Fill & Sand:
Apply Masking Tape.
Carefully tape along ceiling edges, baseboards, and door frames (use quality tape like FrogTape).
Press edges firmly by hand or with a scraper to prevent paint seepage—otherwise, your effort will be wasted.
Wrap tape around your lint roller to remove loose fibers.
Stir the paint thoroughly—settled paint will separate, causing uneven coverage.
3. Start Painting!
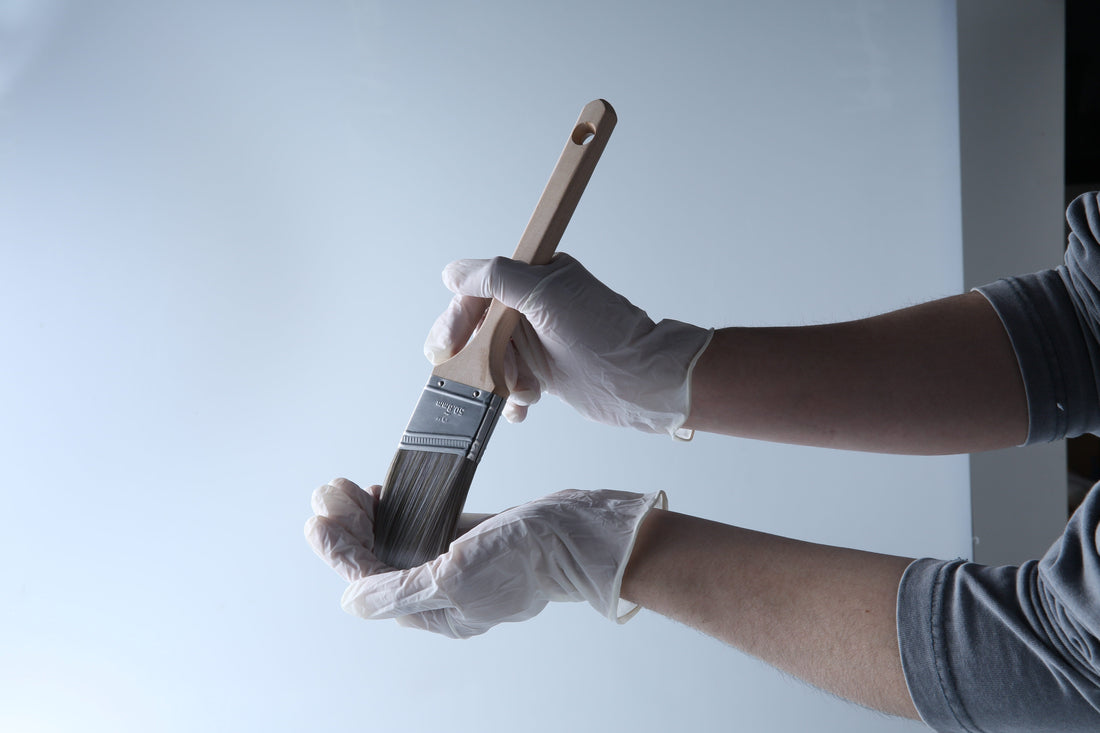
First, use a brush to paint details along corners and switch plates.
Then, fully saturate the roller with paint.
Roll it several times on the tray's sloped surface to remove excess paint.
First coat:
Paint section by section, maintaining a “wet edge” to prevent visible overlaps.After completing an area, lightly roll over it from top to bottom for a smoother finish.
Second Coat:
After the first coat, wait 4-6 hours (check paint instructions) until it feels dry to the touch before applying the second coat.
4.Perfect Finishing Touches
Remove Masking Tape: 1-2 hours after the second coat, carefully peel off the tape at an angle once it feels dry to the touch, preventing paint from peeling along the edges.
Clean Tools: Immediately rinse brushes and rollers with clean water; otherwise, dried paint will ruin them.
Good tools will last you for years.
Go for it! A few minor smudges won't matter.
Get your hands moving to decorate your walls—you'll feel a real sense of accomplishment.
-VOOMEY
